


 The process of relocating the turn signals was tedious! Allow yourself a couple hours to complete this move.
The tools you will need:
Crimping Tool
Drill
Wire cutters
Heatshrink gun (I used a blow dryer)
Loctite 243 Threadlocker and sealant – Blue
Flathead screwdriver
Often I try to give step by step instructions on installations I have made on my Harley. The instructions that accompany the relocation kit are 7 pages long and there are a few differences between models/years that are distinguished in the instructions. If you order this kit, you will have the instructions, which I highly recommend you follow.
I will highlight a couple areas that caused us pain on this install, perhaps, saving you some frustration during your install.
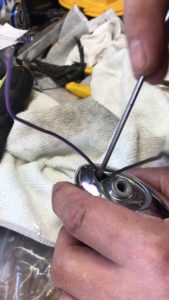
First, removing the reflector from the bullet housing. This was nearly impossible! The instructions state “Carefully pry the reflector and grommet from the housing.” Well, that was impossible and the only way we could get the reflector and grommet out was by using a long, skinny screwdriver and placing it inside the hole the wires were coming out of.

Once the screwdriver is inside, GENTLY push up on the bottom of the lamp holder. This pushes the reflector out of the housing.
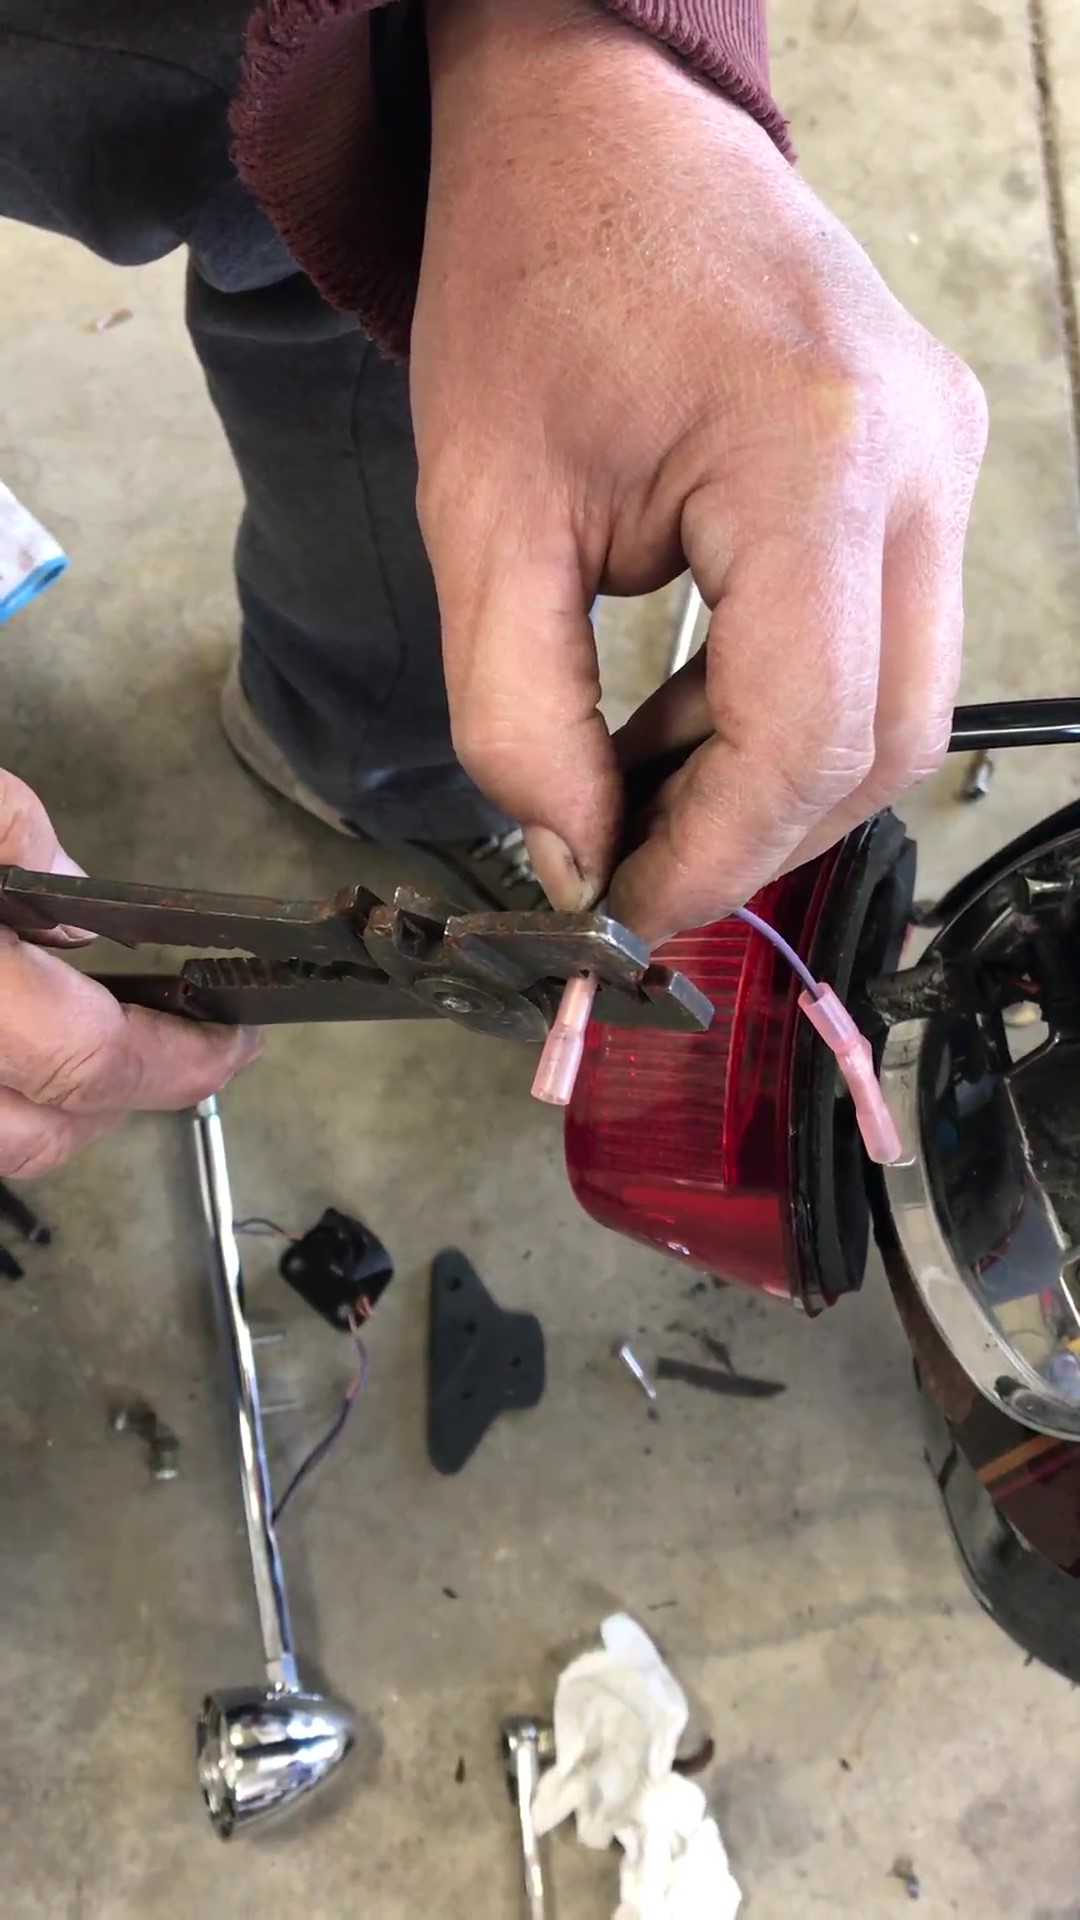
The second area I want to highlight is where you cut the wires between the turn signal and the housing connector. I misread the instructions and made my cuts 4-6 inches from the lamp. I was supposed to make the cut 4-6 inches from the connector. This caused problems when we routed the wires through the new chrome bar. The terminals had to be pushed into this bar, whereas, if I had followed the directions correctly, the terminals would have been located under the fender. The bar diameter is wide enough for the wires and the heat shrink tubing! Jamming the two crimped terminals into the bar was almost impossible! Other than these two issues, the rest of the install was pretty straight forward. The instructions are well written and include diagrams.
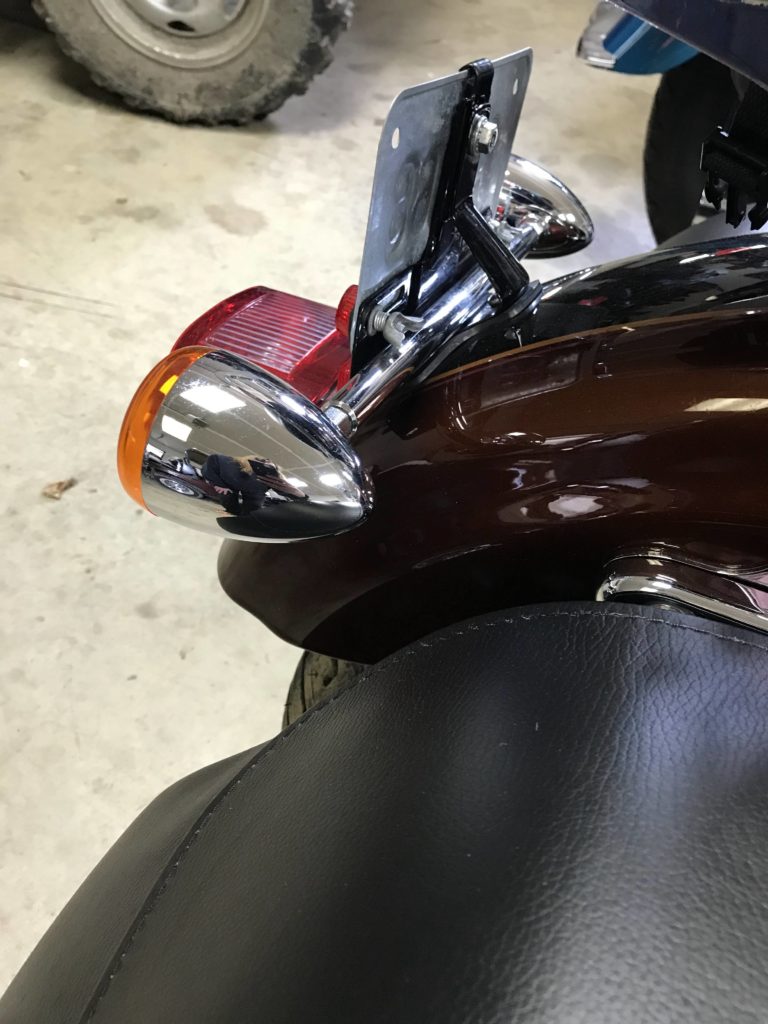
The purpose of moving the turn signals, as I previously stated, was to fit the new saddle bags on my bike. They look great and another great customization of my Sporty. Good luck with your install!